Lightroom Workflow for Film Negatives
The workflow in it’s current state
In this post I would like to go over my Lightroom workflow after I’ve scanned in my film negatives. If you haven’t already, I recommend reading my post on camera scanning . It goes over how I organize my scanned film DNG/RAW files regardless if you use a digital camera or some other source. This workflow has evolved a lot, but the last few months, it’s stayed pretty consistent.
This process makes heavy use of the Negative Lab Pro plugin for Lightroom. If you have not heard about this plugin I highly recommend it. There’s a free trial if you’d like to try it.
Importing
Alright, let’s get into this. When using the import feature in Lightroom, I actually import the “scanned” negative RAW files into the same folder. So when importing I select the Scans folder to import from on the left, and on the right side of the interface, I select that same folder to import into. This allows me to keep the same folder structure in both Finder (MacOS. Explorer for Windows) and Lightroom.
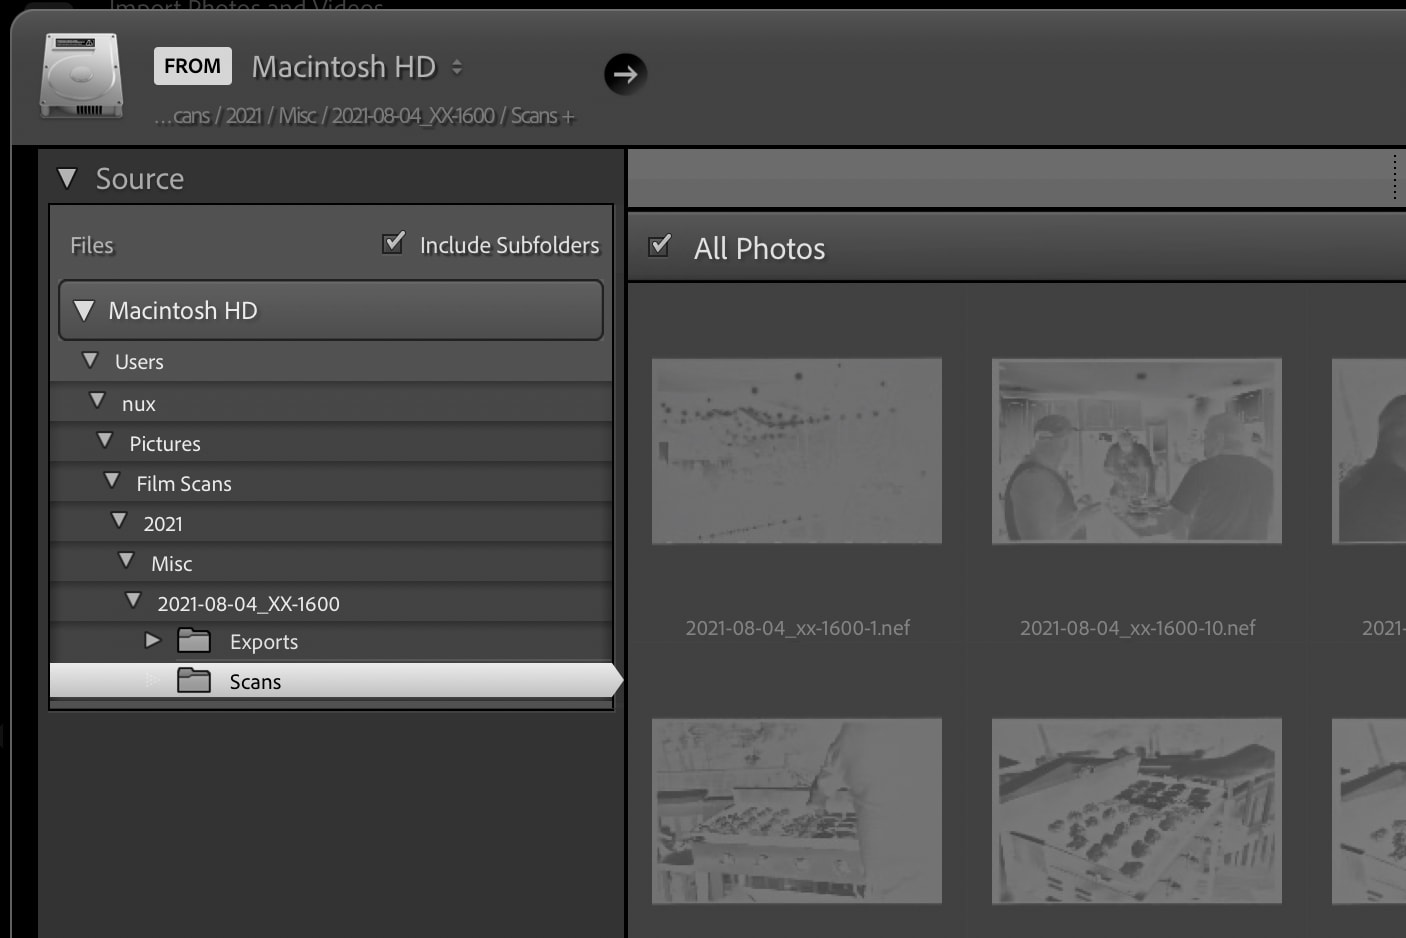
Choose the Scans folder to import from

Choose the Scans folder to import to
The import time can vary depending on Lightroom’s settings for preview sizes. I like to use 1:1. While on the grid view in Lightroom I like to select all of the photos and flip horizontal. If you scanned your negatives with a digital camera with the emulsion side up (which you should) they will be flipped backwards, so you need to flip them the correct way.
Now, open one image by double clicking it and select the Develop tab. Select the Negative Lab Pro profile. This is necessary to help Negative Lab Pro properly convert the negatives. Especially color. Now, select the white balance dropper and use it on the film mask. This will perfectly white balance the negative. Next, crop the image in about 10% on all sides. We only want to use the film mask for correcting white balance, but we don’t want it in the image while converting with Negative Lab Pro.

White balance from film mask and use NLP profile
After the profile, white balance and crop of the first image is set, select all of the imported images and sync them using Lightroom’s Sync feature. Synchronize the crop, white balance and profile treatment. Keeping every photo selected, open Negative Lab Pro (ctrl+n or File » Plugin Extras » Negative Lab Pro.)
Negative Lab Pro
The Negative Lab Pro dialog should open and here you have a choice of different color profiles; Noritsu, Frontier and Black and White. If converting color, the choice of Noritsu or Frontier is personal preference, but here’s a blog post that goes over both in pretty good detail. Black and White is just black and white. Saturation I always keep at the default of 3, which doesn’t matter for black and white. And, because the images were cropped before, the border buffer can be set to 0 (zero.) Click the Convert Negative(s) button and let Negative Lab Pro do it’s thing.

Negative Lab Pro
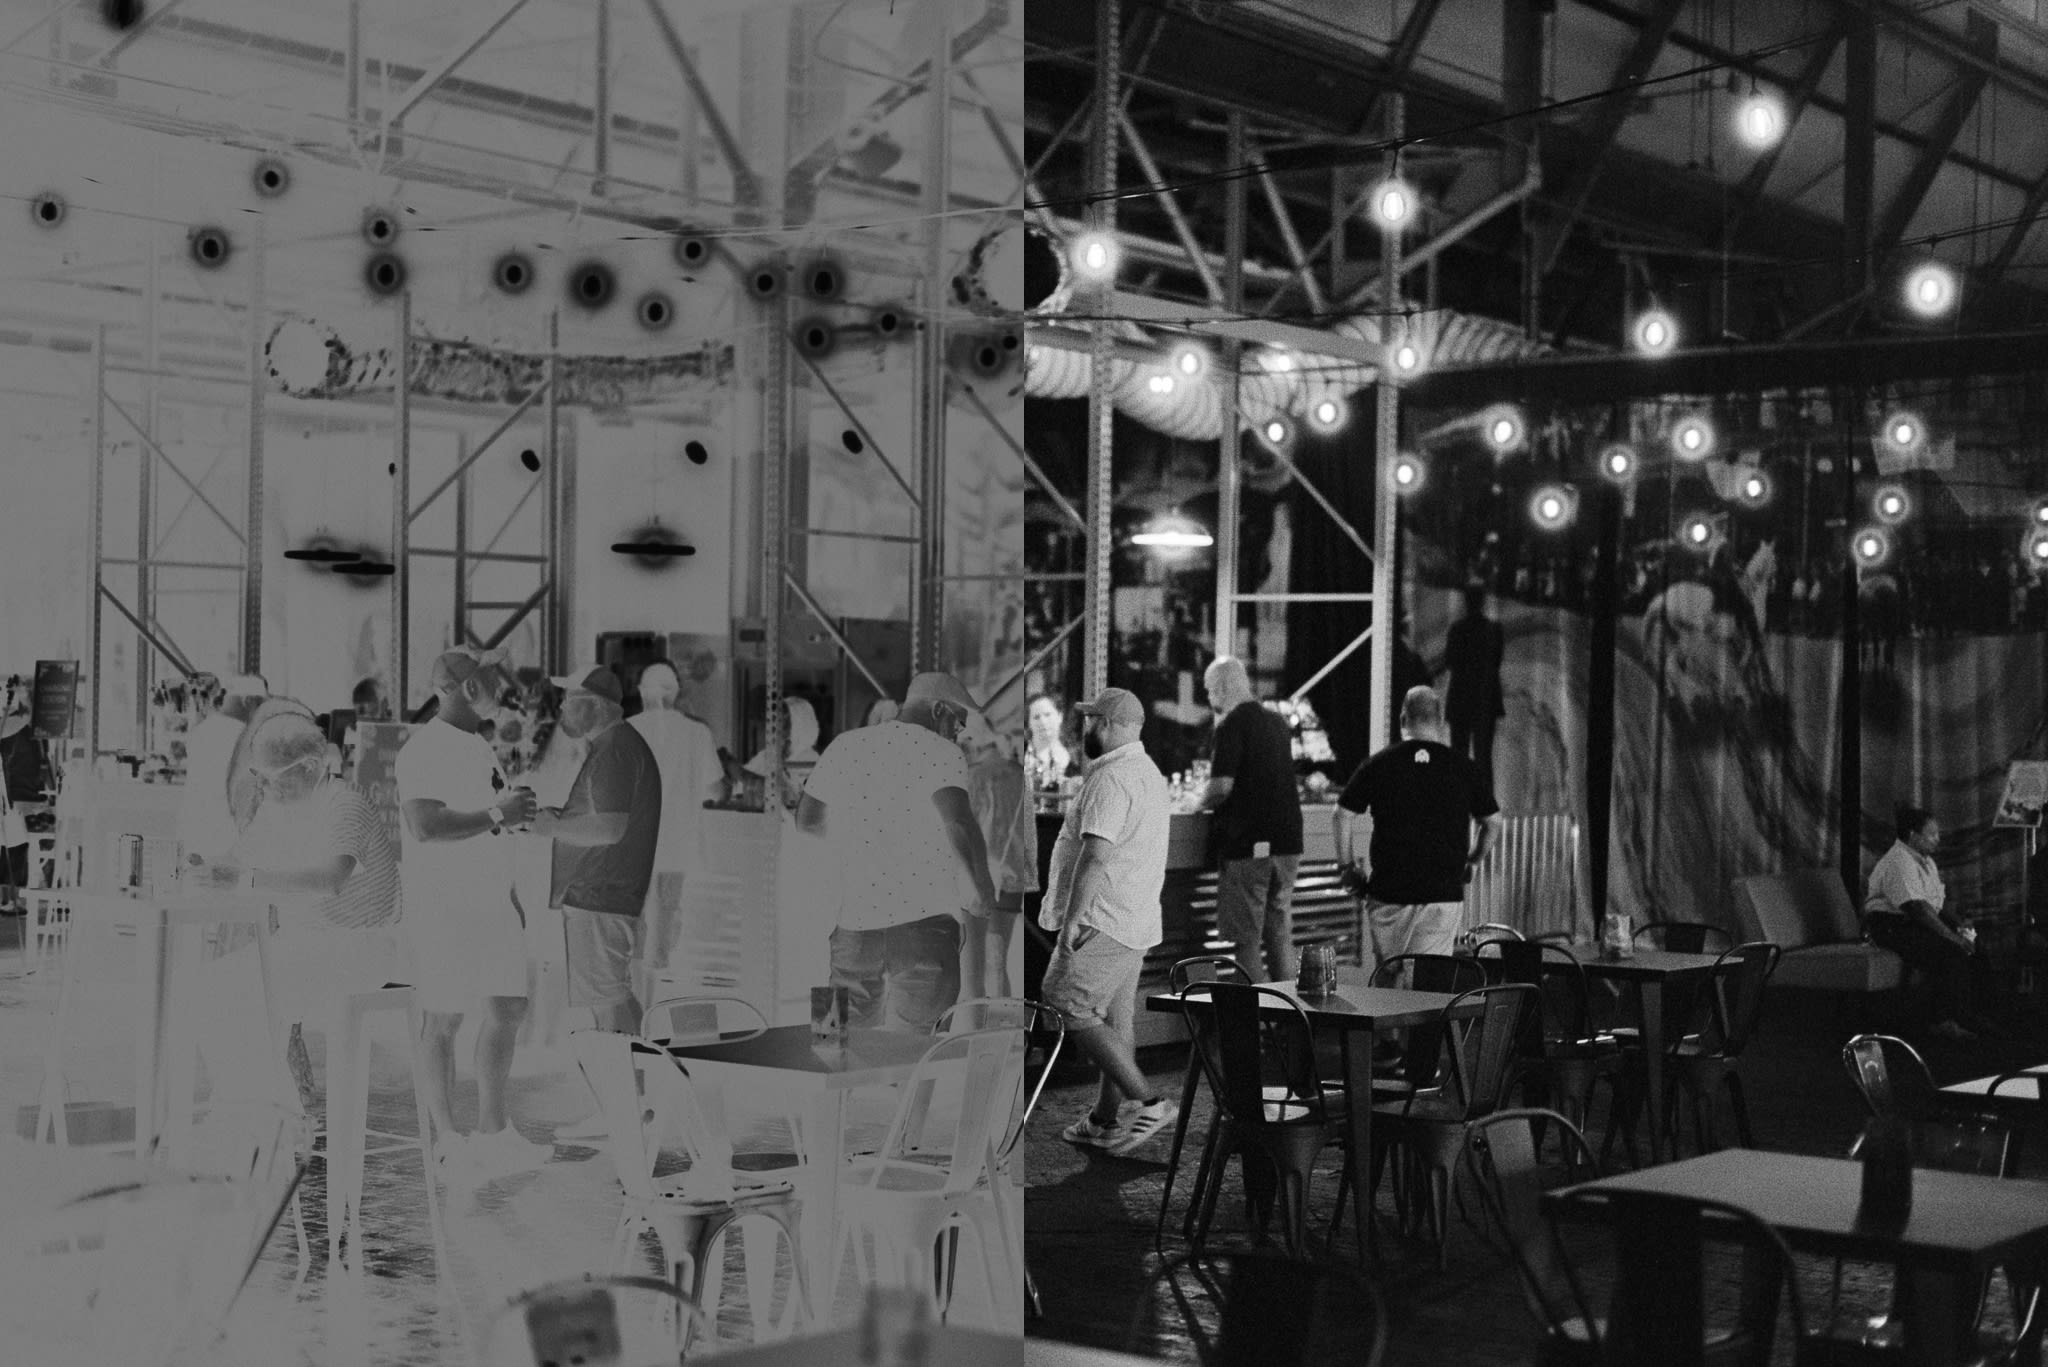
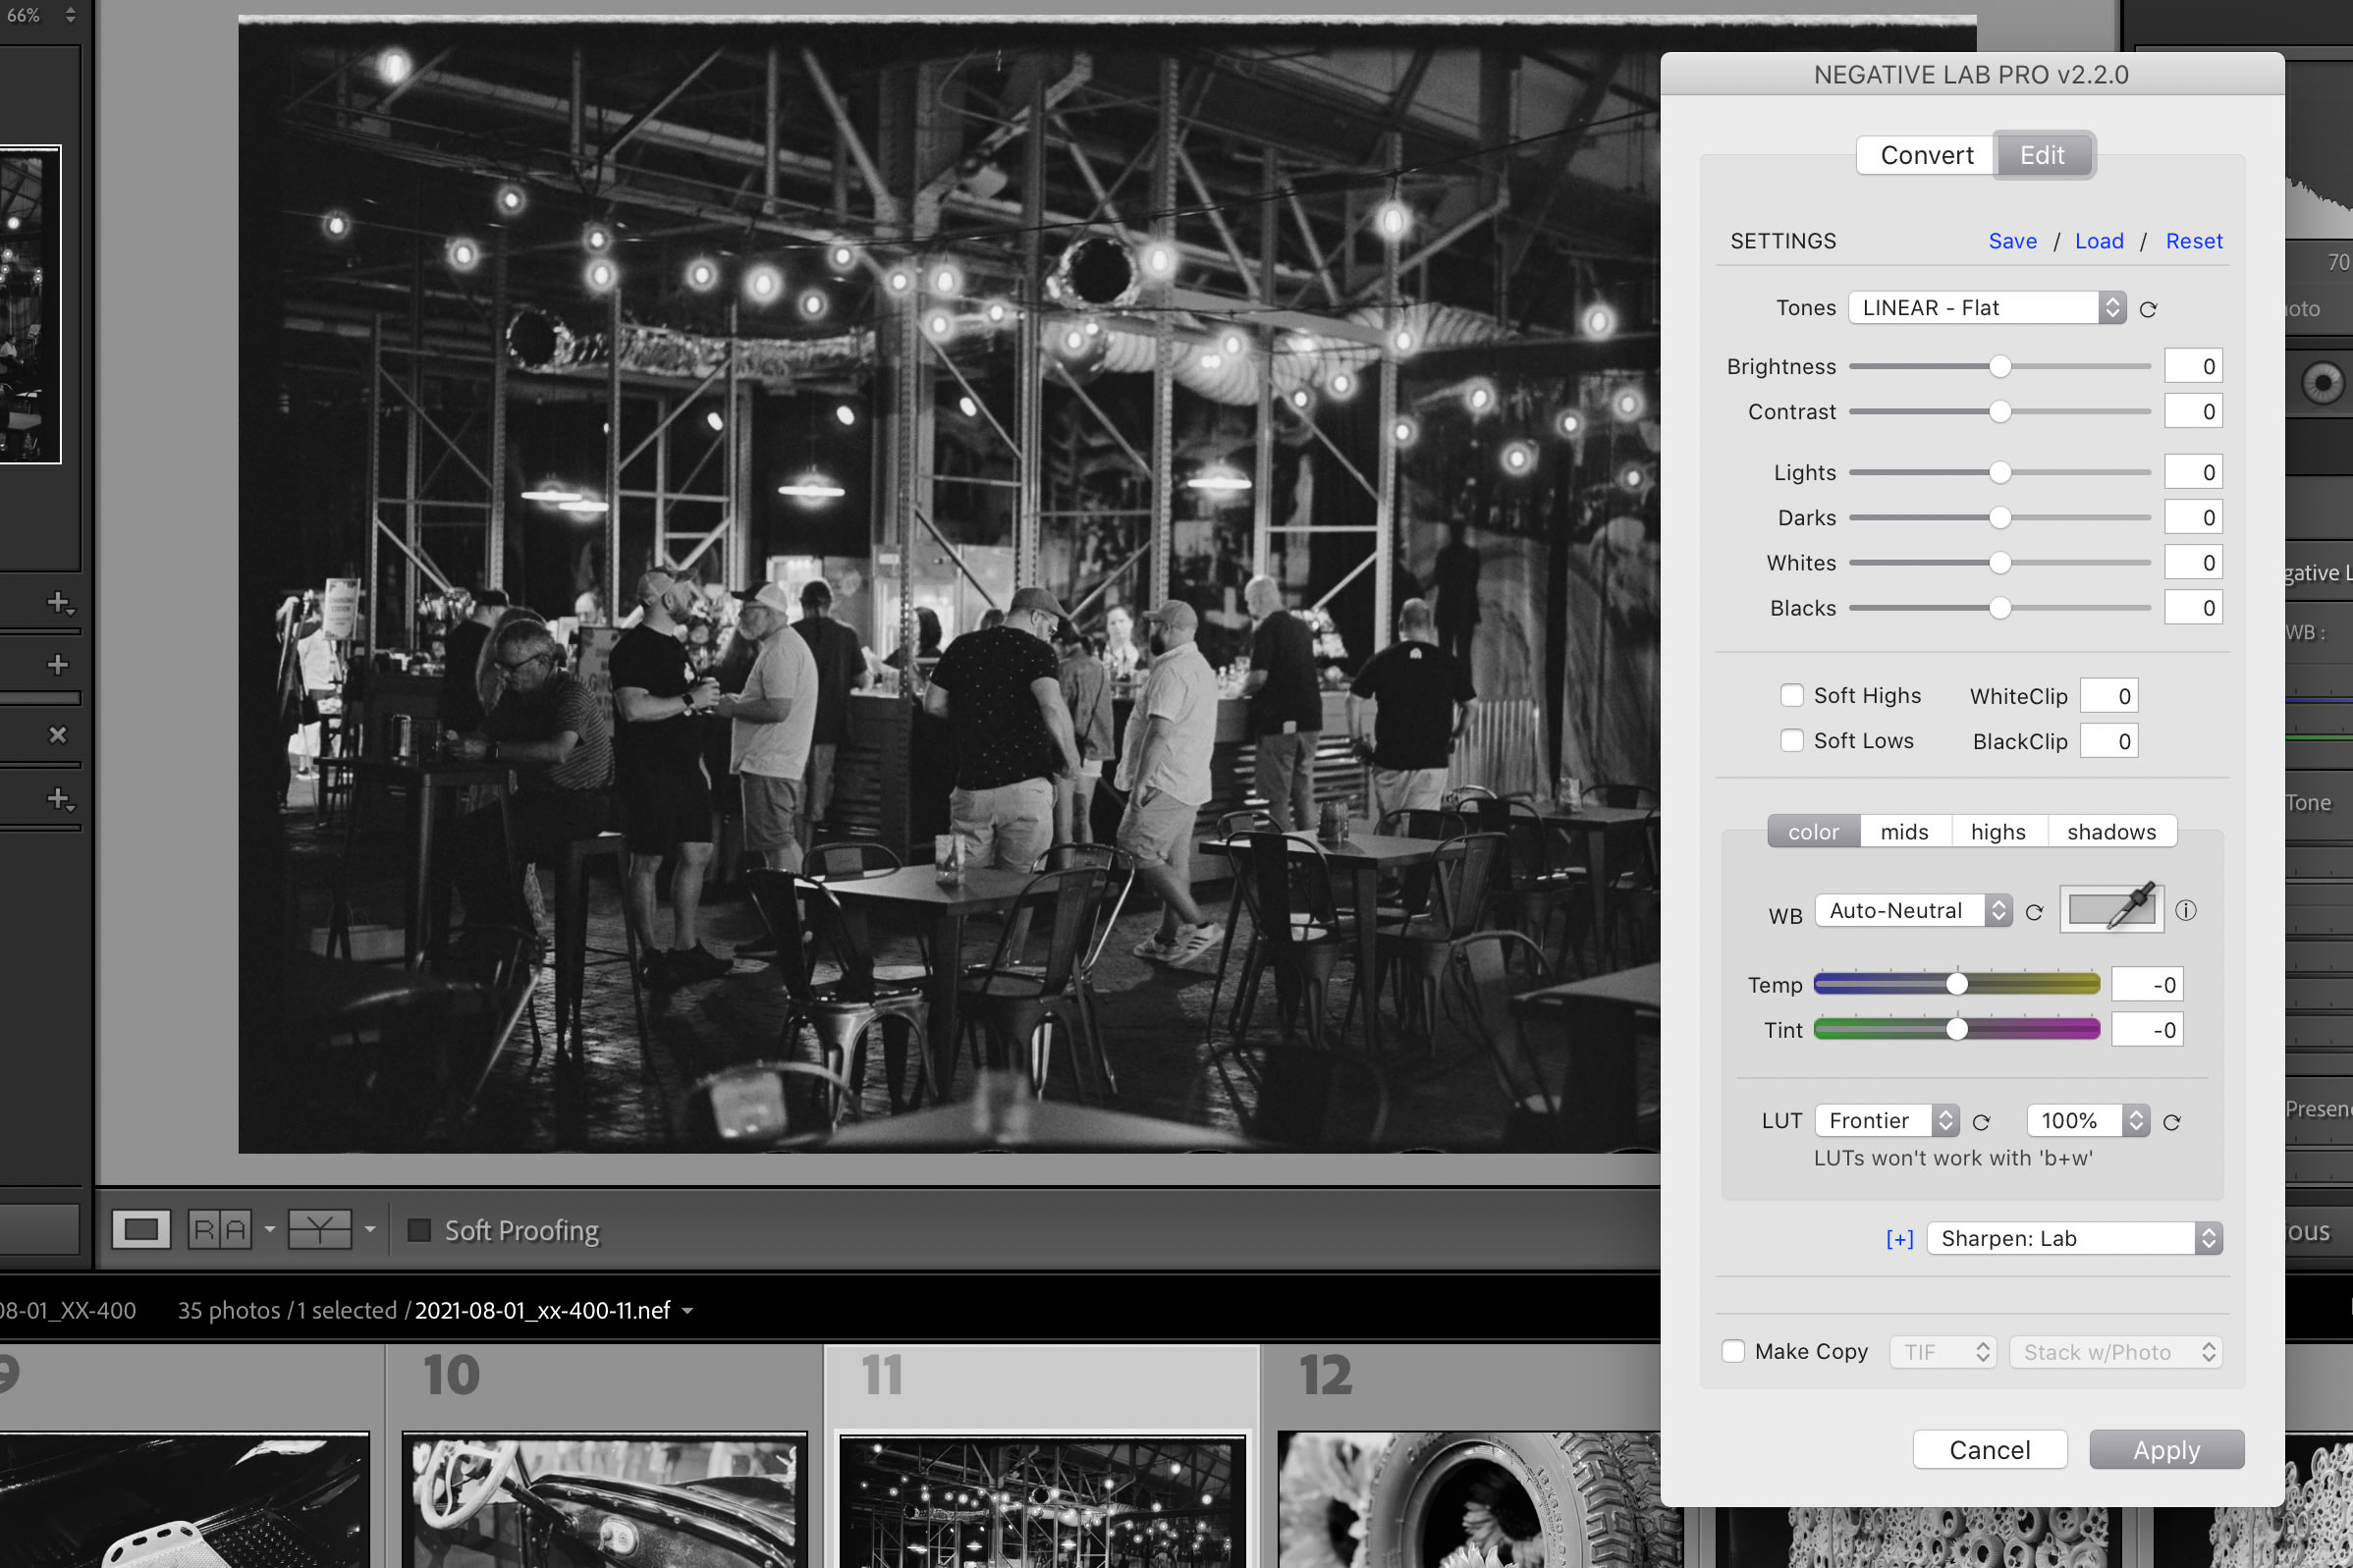
After Negative Lab Pro finishes I like to set the tones to Linear Flat. This looks a little undesirable at first, but I’ll go over why I do this in a bit. If I don’t feel like spending the time editing, I’ll choose LAB Standard to get close to what I want with little effort. I rarely mess with any of the sliders but you can get a lot done here. WB (white balance) I keep on Auto-Neutral, and LUT I set to Natural. Neither of these matter when converting black and white. Lastly I set sharpen to Lab and sync settings before applying these changes to all of the images.
Negative Lab Pro
Now that all of the negatives are converted I like to reset the crop on all of the images. This is as easy as uncropping one image and then syncing just the crop like we did earlier. Now I like to use Lightroom and batch rename all of the photos. I name them based on the folder, so YYYY-MM-DD_FILMSTOCKISO-#. I like to take the organization even further and use Negative Lab Pro’s meta data editor. This allows me to tag each set of images by camera body, lens, focal length, scanning method, development method etc. This is also great for organizing all photos with Lightroom’s Smart Collections. Makes it very easy to find what you’re looking for later.
One note I will make when converting negatives is that if you are converting something that maybe had a lot of light. Think of a photo at the beach, or somewhere where there’s no shade in the photo at all, you may end up with some very saturated colors. Trust me, if it happens, you’ll notice. Don’t freak out. You just need to uncrop that specific image to allow for Negative Lab Pro to use some of the film mask for black, as your cropped image may be lacking any pure blacks. This is something you just kind of learn along the way. Also, the Negative Lab Pro forums is a great resource if you run into any kind of weird issues like this. People will definitely help if they can.
Editing
From this point on it’s all personal preference, but here’s what I do if I left the image at Linear Flat. With all of the images set to flat, you have a nice even starting point to edit from. When I find an image I want to edit, I will bring the Negative Lab Pro dialog back up, and make a TIF copy (down at the bottom.) This creates a “positive” copy of the image so that you can edit as your normally would in Lightroom. If you do not save as a positive copy, the sliders in Lightroom will not work as they normally would due to the RAW file still being a “negative.”
Exporting
As mentioned in my post on Camera Scanning that I create an Exports folder on the same directory level as the Scans. This is, as you may have guessed, where exported images go. I will usually make a couple of other folders like Web or For Print. This just helps keep everything nice and organized in the same root imported folder.
Backup and Archiving
Ideally, backing up to a couple (always two!) external hard drives would happen at the end of each year, but my current MacBook will only hold about half a years worth of RAW files with converted TIFs and exported JPGs. It adds up after a while, especially when making 36MP “scans” with a digital camera. Storage is cheap and better safe than sorry. I also use Backblaze to keep my MacBook and any externals backed up to the cloud.
If you count external drives, current computer drive, Backblaze and your film negatives, you have your photos in 5 (five because two external drives) places.
For archiving I use Print File sleeves. For 135 I like the 7 row, 6 frame version in particular. I like to bulk roll film and can sometimes get 38 or more frames even on a standard roll. Archive sleeves go into Besfile binders.
And that’s what I do with every roll. The process seems like it has a lot of steps but it’s mostly batched. The real time is spent editing individual photos, which is entirely up to the photographer. I hope this is helpful to someone. Getting film scans organized in Lightroom can be approached in different ways, and it helped me by seeing what others were doing. I just made changes where I saw fit.